Lori's away working in San Antonio for six weeks so decided to overhaul her sewing room as a surprise. I had watched her work her magic on this double size double sided quilt. She struggled with working space in her cluttered sewing room and that's when I decided to put boat building on hold for awhile and do something about it.
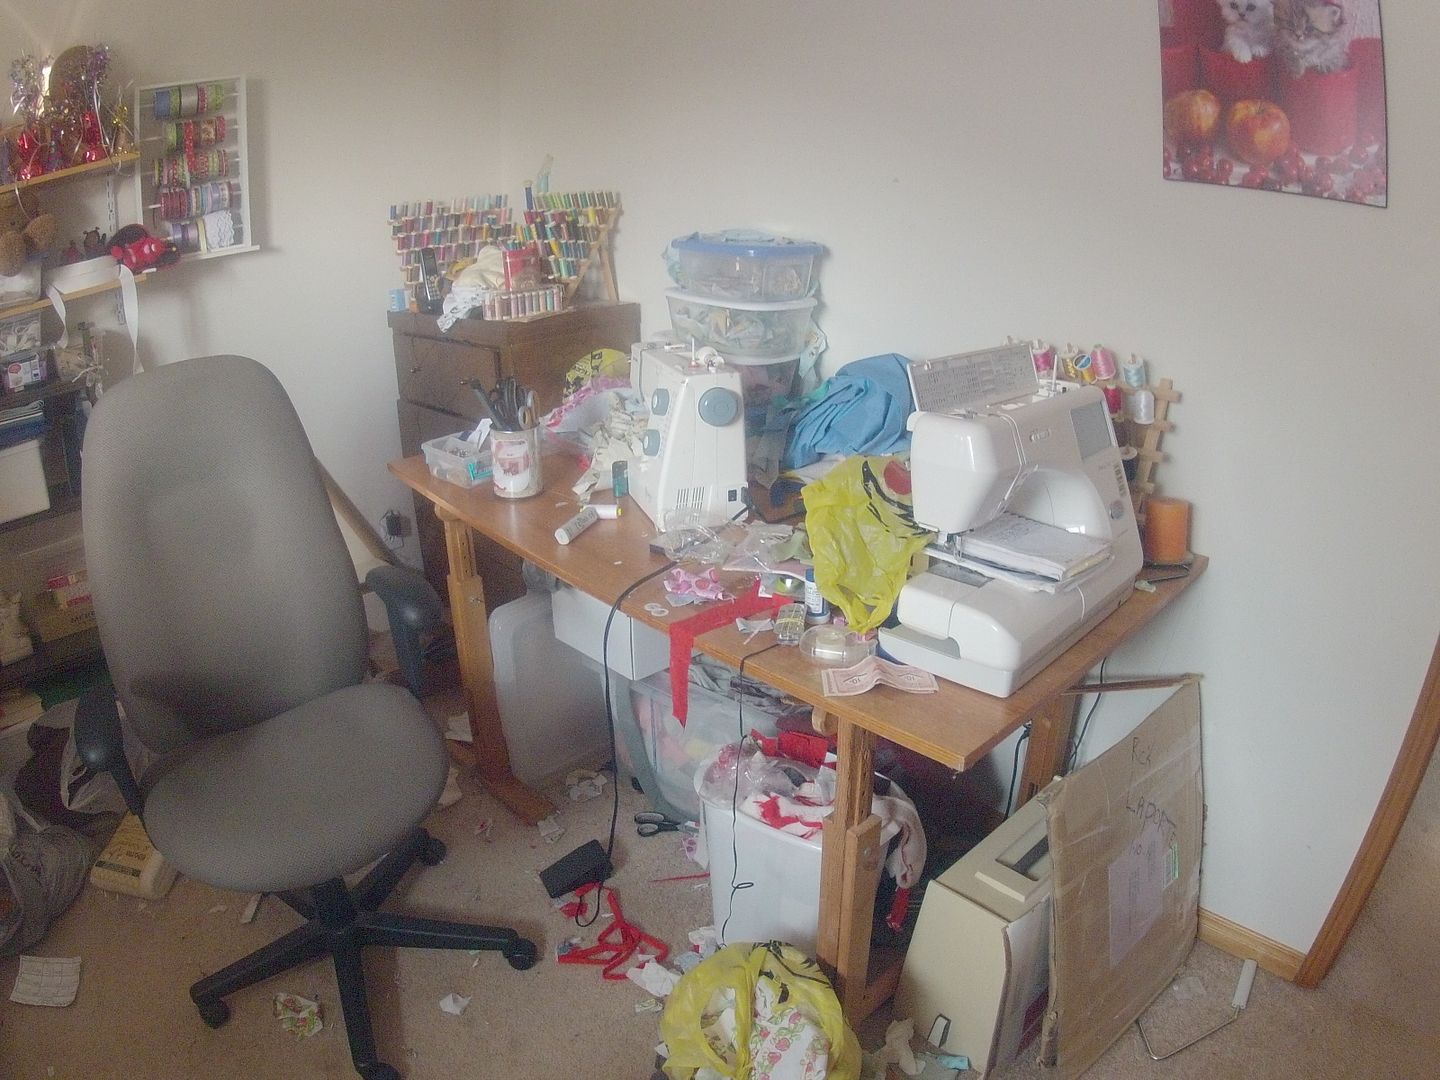
Double sided she figures she had over 80 hrs into it. So thinking what can I do to help her out. Here's her workspace before.
I think it was Einstein said; "Only the greatest minds have the messiest desks!" :-) Well cramped workspace seems a slight under exaggeration! I have no idea how she managed to turn out a double size two sided quilt in this space.
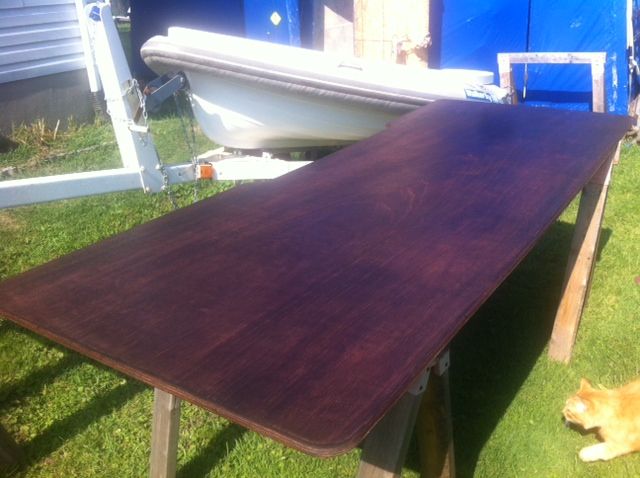
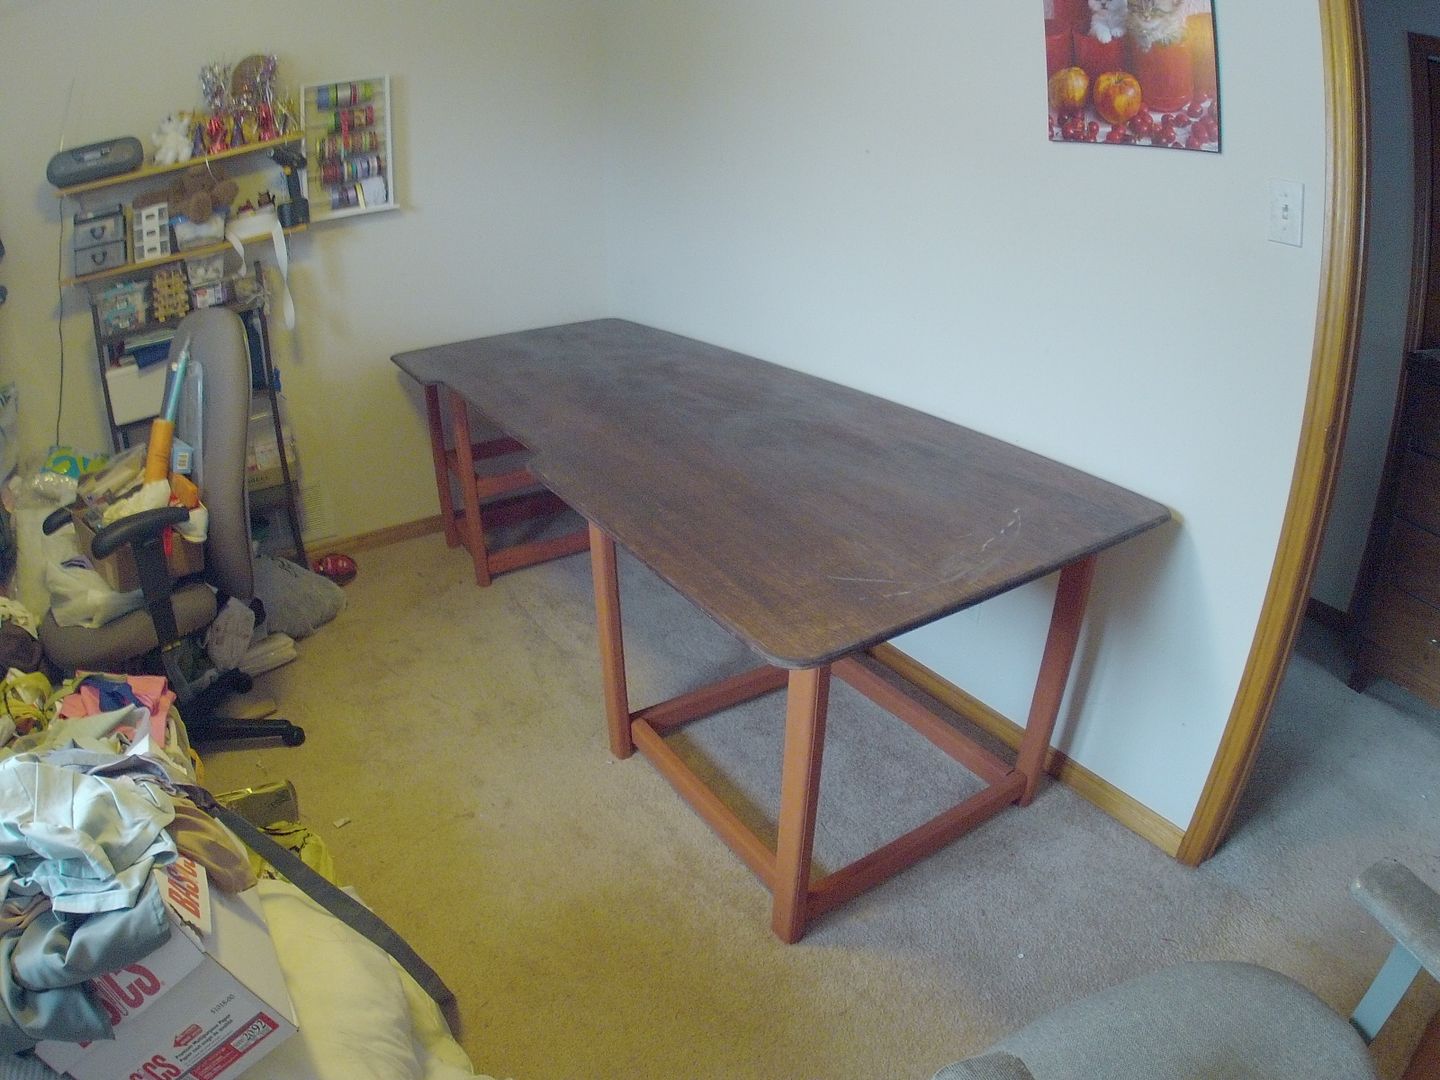
When we bought the boat kit it came with 18 extra sheets of 1/2 Meranti marine plywood. I sacrificed one piece for a table top. ( 8' x 3' ) Red mahogany stain and 4 coats of polyurathane.
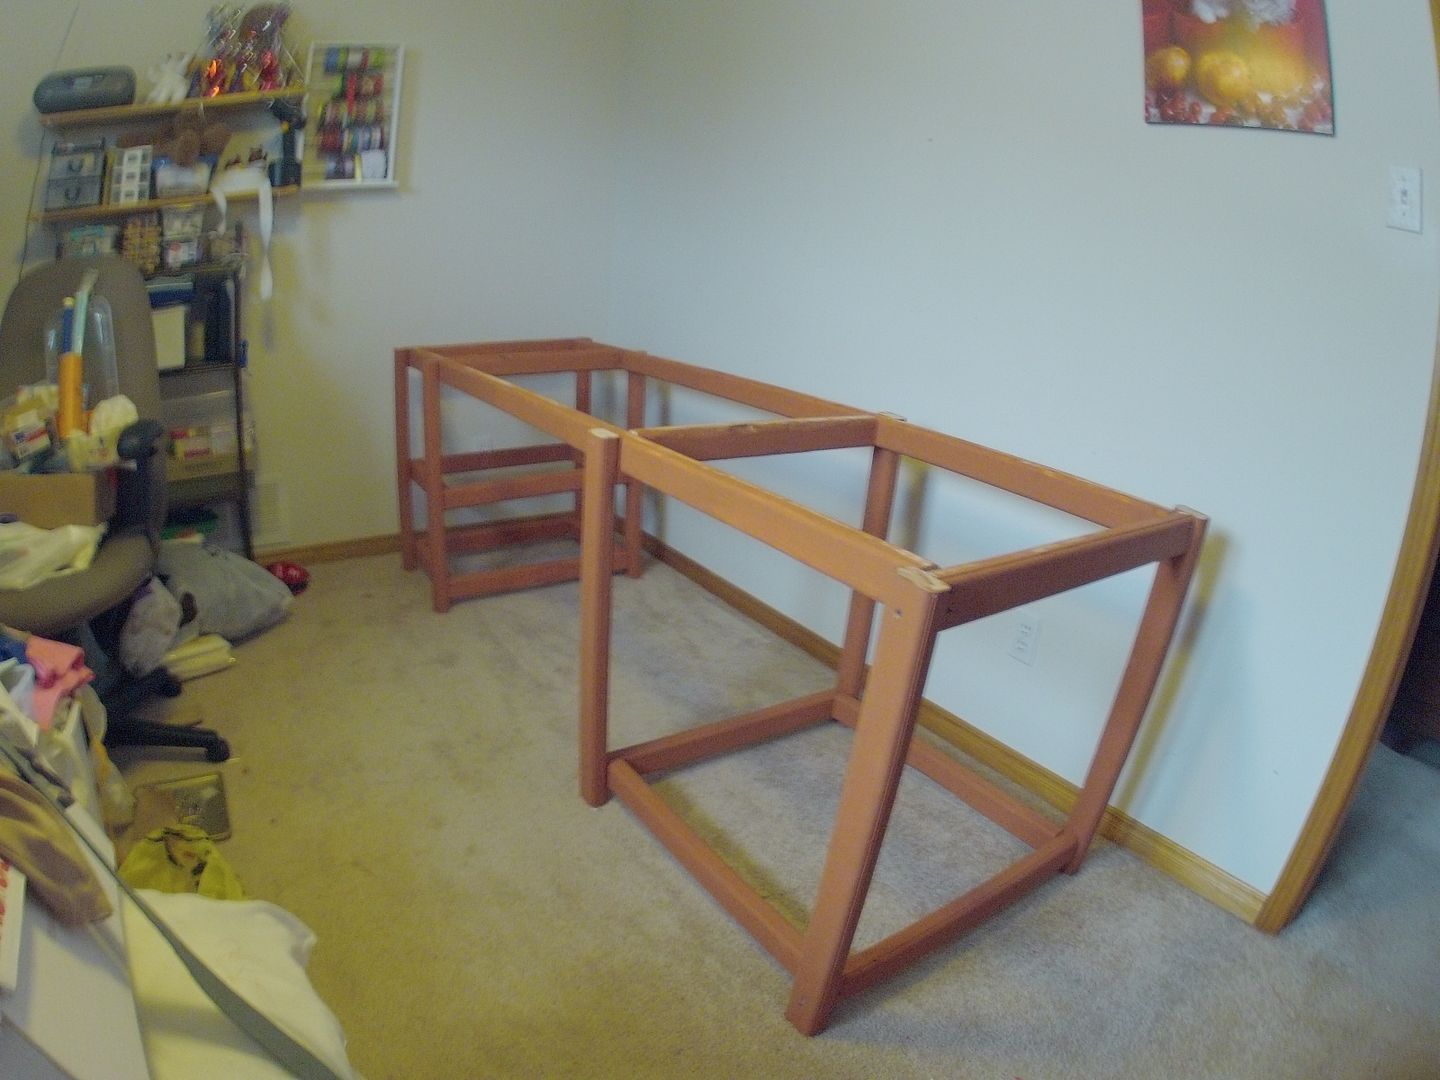
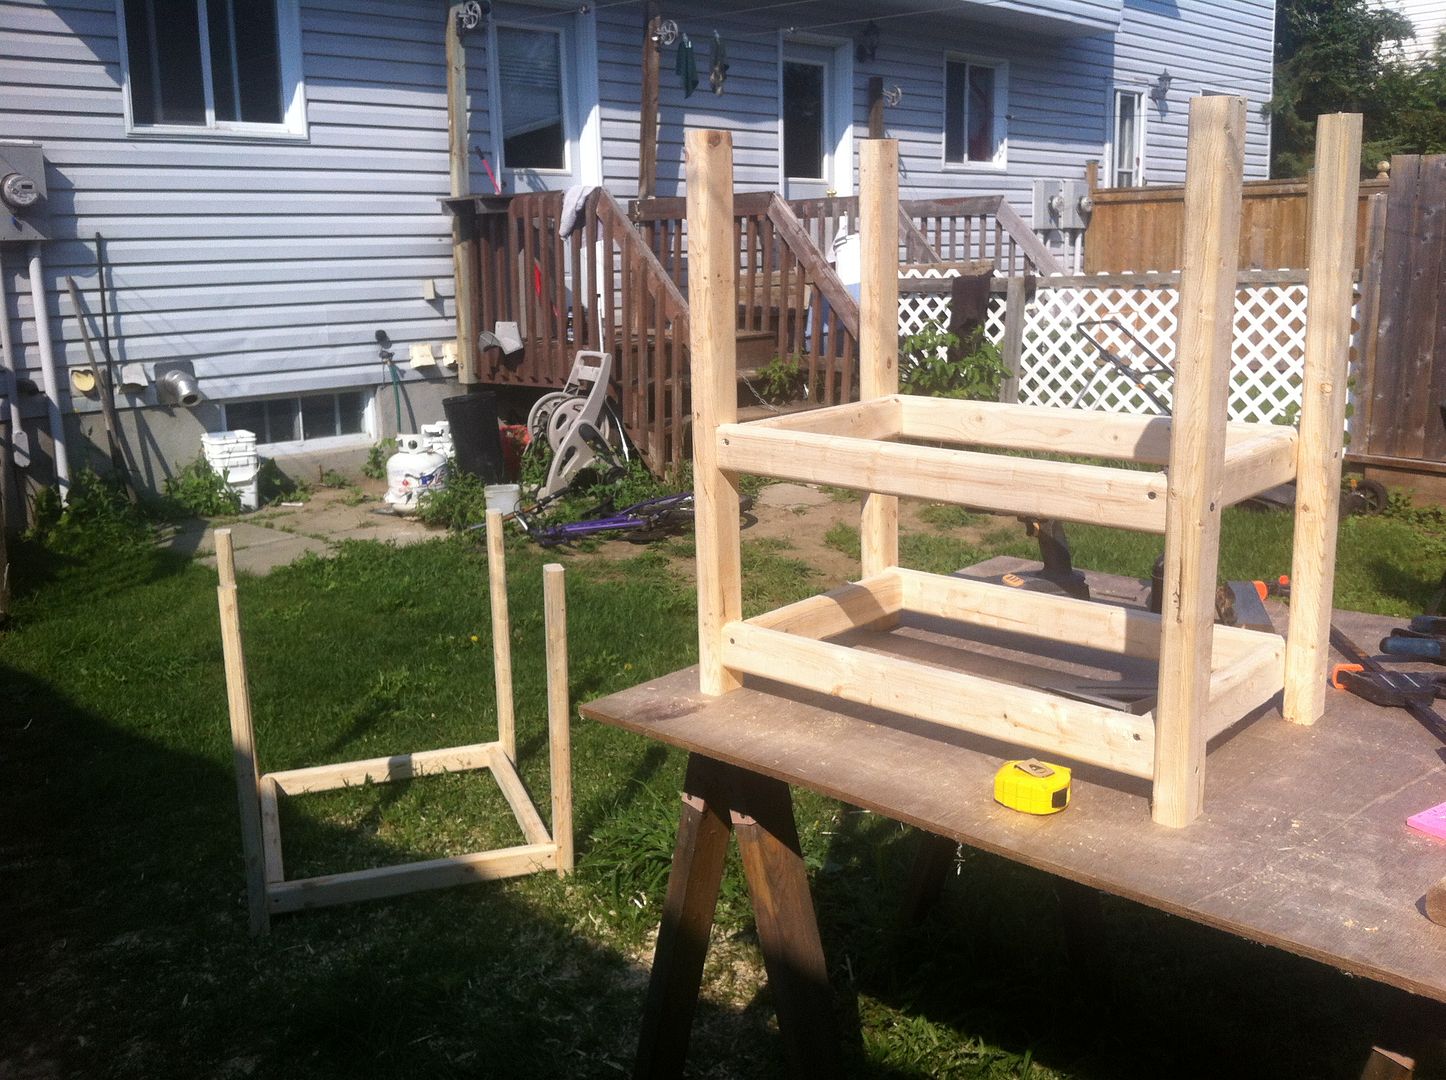
The plan was to just build her a good & solid work bench with plenty of space to spread out. All the edges were radius'd over smooth so she can lap fabric over the edge without it catching. The frame is standard 2 X 3 construction grade lumber. I radius'd the edges with the router and sanded them smooth as well.
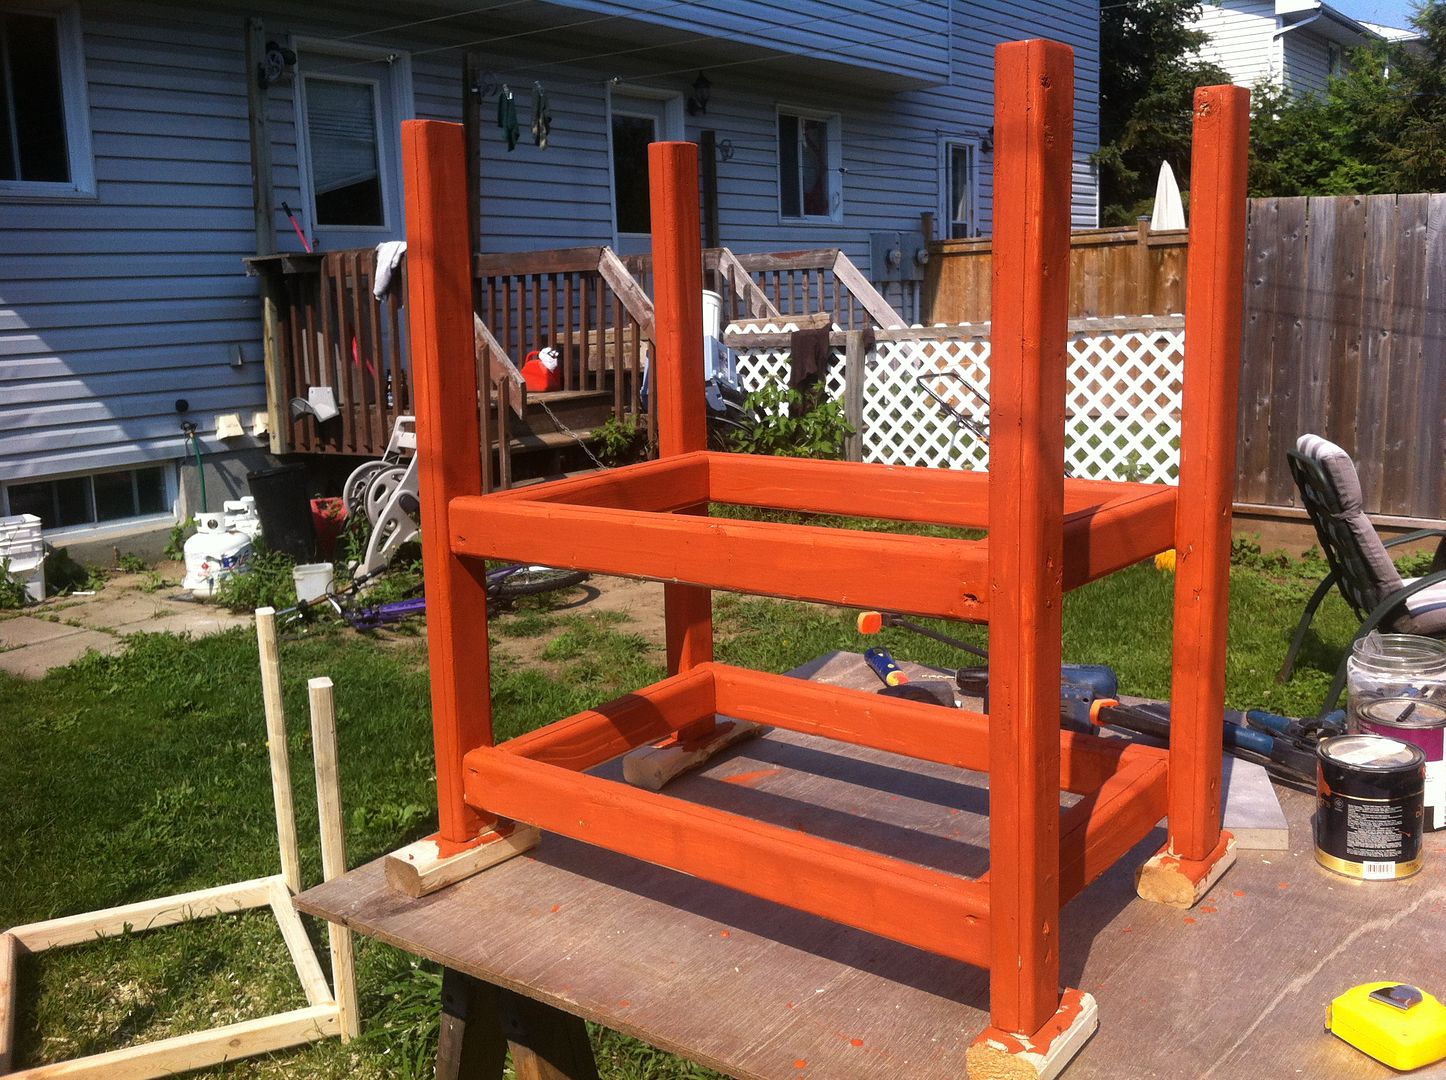
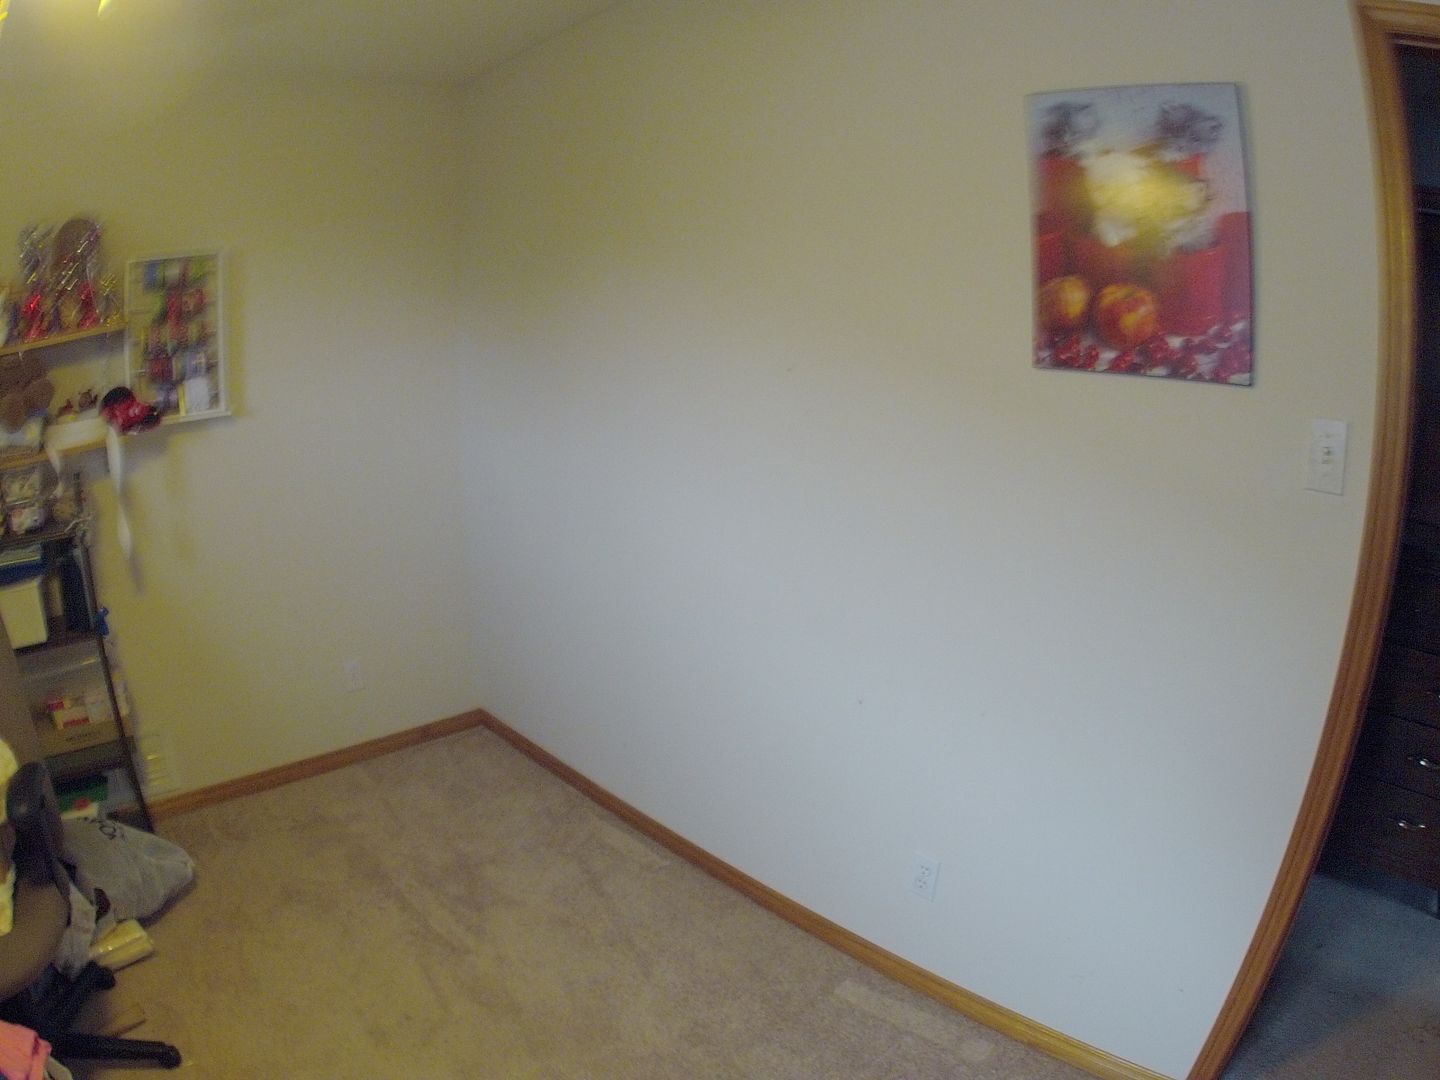
The color came from 'found paint' from some previous unknown project! It was one of the few cans in the basement that hadn't turned into a solid lump! :-) It took me the better part of an hour to clear out the space (see before picture above). I probably picked up over 200 pins & needles from the carpet as I went!
Assembling the base only took a few minutes. The frame is just a tad under 7' long by 32" wide.
I brought the table top up the stairs easy enough but had a heck of a time getting it into this small room. Had to back it up into the bathroom and bend it a bit to get it through the door. Had a little run in with the ceiling fan and marked up the top. Blew one blade off the ceiling fan! *lol* Fixed that and can fix the table top easy 'nuff later.
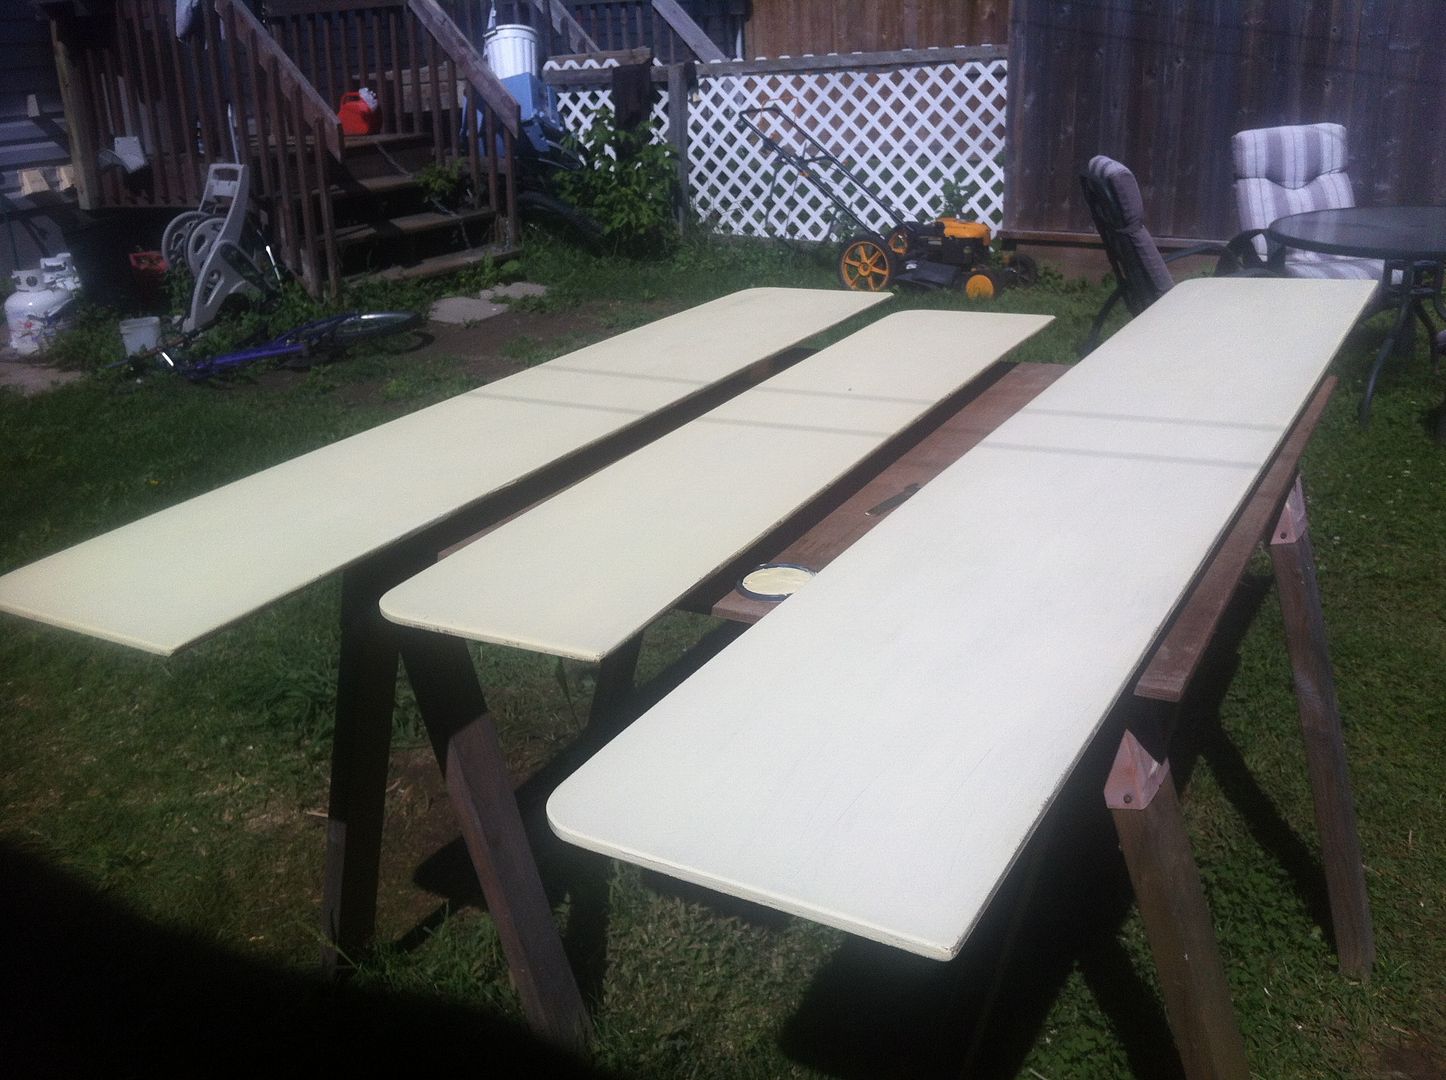
The next task was to make some shelves to go on the wall behind the work table. Again I used some leftover marine plywood, radius'd the corners and painted them with a different color 'found paint' from the basement. This time a yellowish buff color!
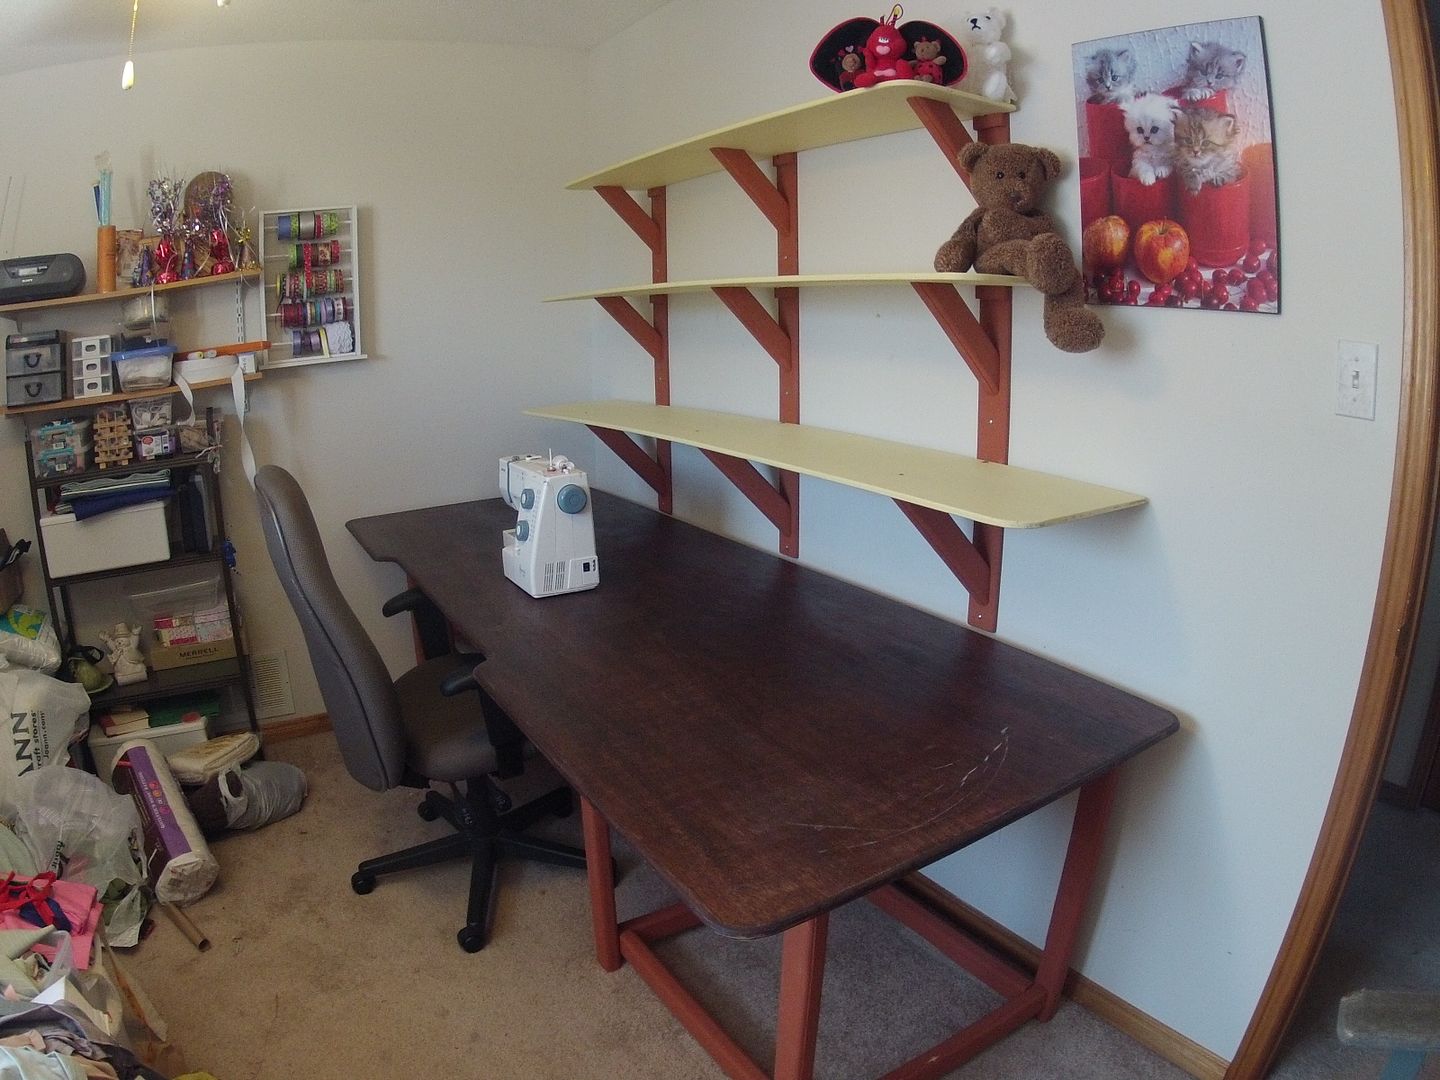
I painted the shelf brackets the same color as the table base for a little visual variety. This isn't 'fine furniture' so it's all a bit rustic but it's functional.
When everything was installed it looked pretty good. I was trying to keep this a secret till she gets home from San Antonio but I just couldn't. I'm horrible at keeping secrets so I let the cat out of the bag and showed her what I did. I was a little afraid she'd be pee oh'd at me for messing with 'her inventory system' but she's Ok with it. I'm sure it'll help increase productivity! :-)
I have to cut a slot in the table top for all her power cords & foot pedals and install a power bar where it's easy to reach without having to climb under the table. I do plan to put plywood shelves under the table to keep stuff off the floor. The next task is to work on the other side of the room. I plan to build floor to ceiling shelves in the same style as the shelves above the sewing table.
Everything I used I had except the poly, stain and 2 x 3's. Total cost was about $50 and 3 days of puttering around.
I know it wasn't a huge project but I enjoyed it all the same. Thanks for looking in and standby....


No comments:
Post a Comment