"Fairing: the process of making a yacht hull smooth so that it moves efficiently through the water"
Well that's sorta the idea anyways. Fairing I would think also includes the 'cosmetic' aspect of preparing the hull for paint. As with any good finish the end product is a direct result of the effort put into making the surface as free from defects as possible. I'm not at the finish (cosmetic) part of the hull preparation but I'm doing some fairing to get as many nasty blemishes out of the sides (the most visible part of the boat) before I lay on more glass. The next two layers, 1 x 12 oz 0/90 biaxial and 1 x 10 oz Satin Weave should be easier to make fair if I spend a little more time on the structural layers beneath.
To start I mixed up a mushy mix of filler, 2 cups glass beads, 1 cup cabosil and 1 cup wood flour. Each batch, of which I used two, made up about 500 ml of filler. This was spread very thinly over the hull to fill all the little voids in the weave of the fiberglass.
Voids in the laminate are a 'no no' as they could possibly allow water to accumulate and with a freeze/thaw cycle like we have in this Gawd forsaken country, could lead to de-lamination or blisters in the hull. I'm hoping all this extra work and sanding I do will prevent that from every happening. My second, and likely biggest concern, is looks. I want the hull to look as good as I can possibly get it. A show car finish would suit my liking just fine! :-) Even if it means many many more hours of sanding I'm willing to do it to get a good result.
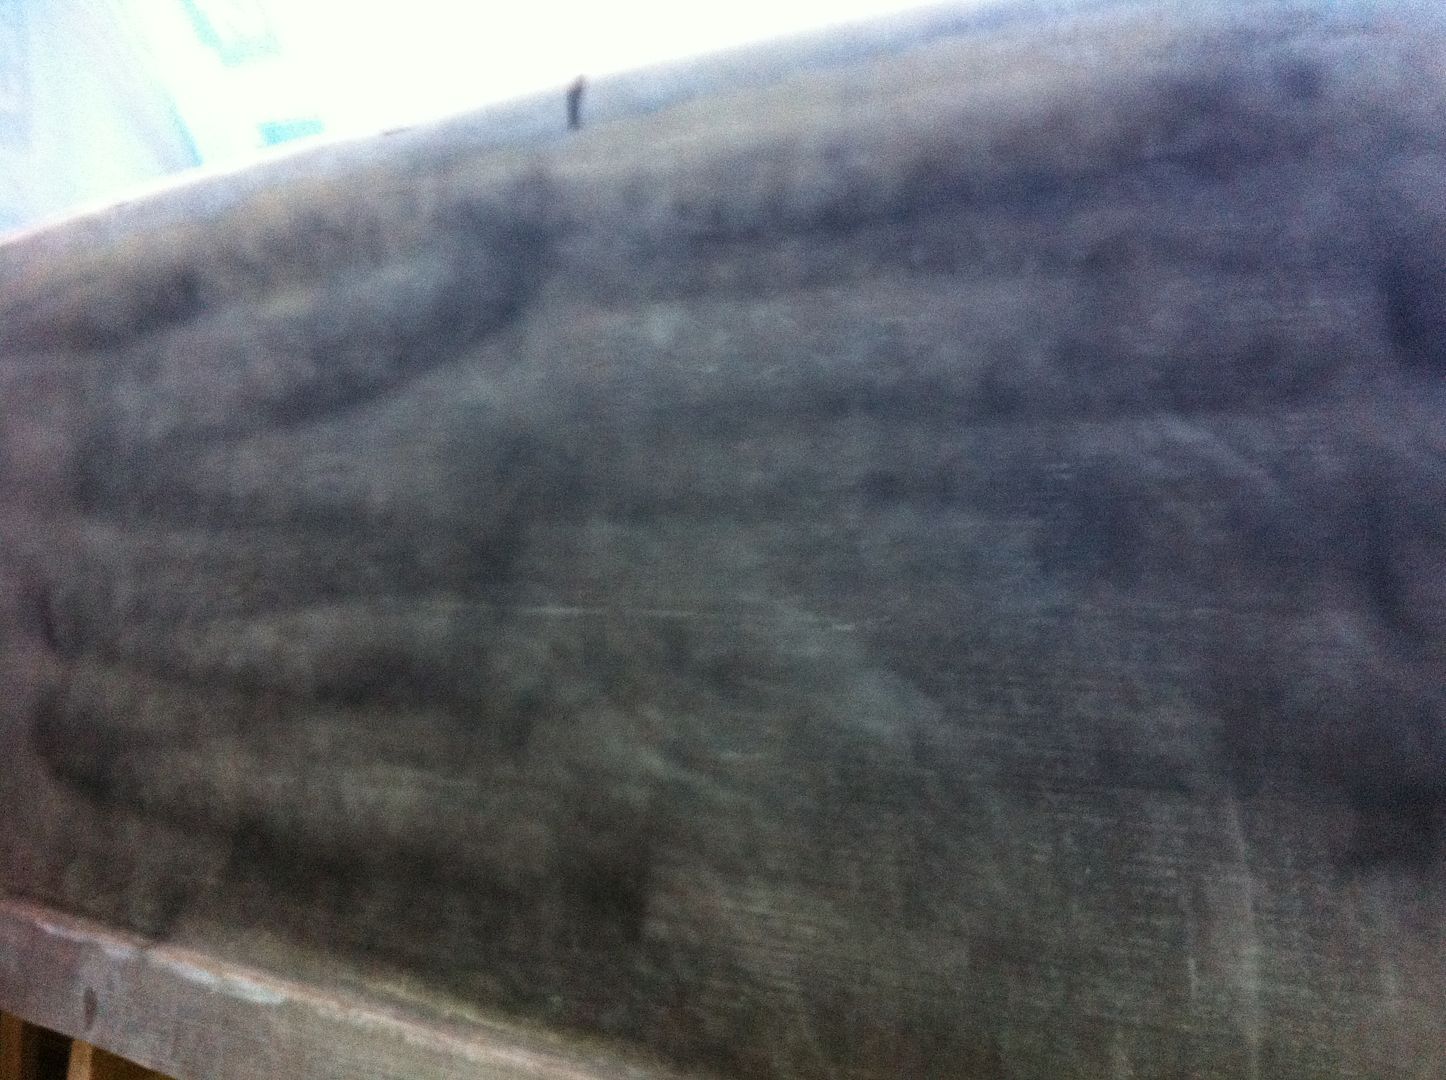
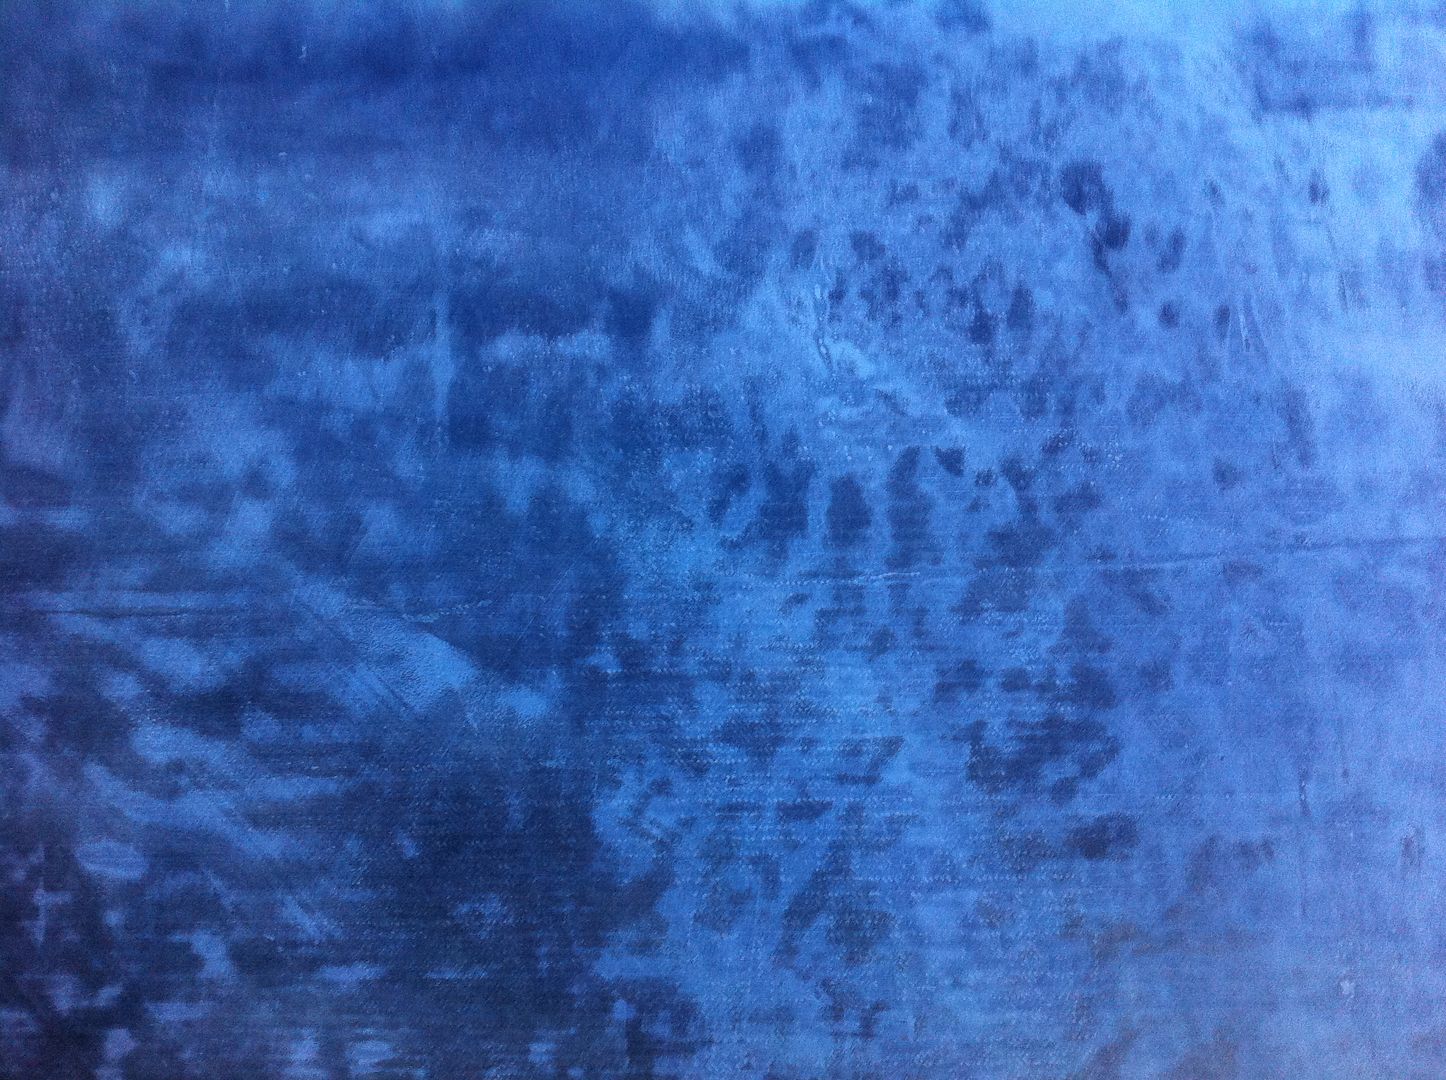
I apologize for the next crappy photo. The iPhone camera seems to have a hard time locking onto dark objects. What I've done is spray on a fine mist of black paint.
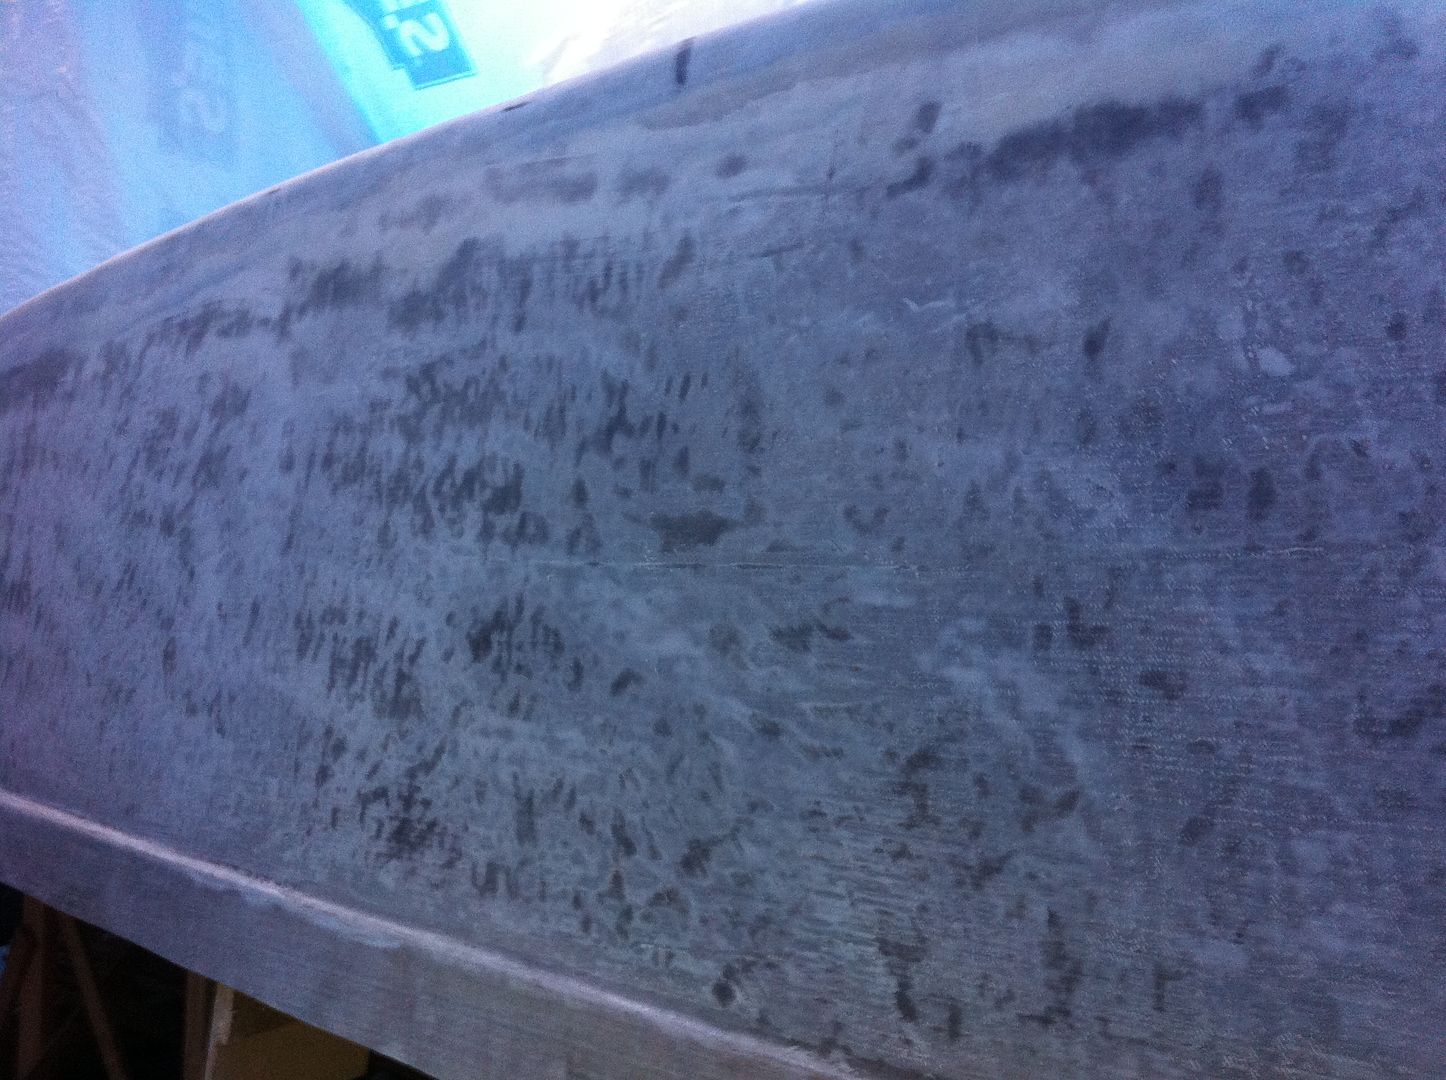
This is called a 'guide coat' and it will show me the low's and highs as I sand down the fairing coat I applied earlier. It's really hard, for the untrained eye (which is what I have X2) to see any dips and bumps. You can feel them as you run your hand over the laminate but that only gives you a general idea of how it is. Once it's sanded you can see the low spots, still have paint on them, and the high spots sanded down.
This side felt really smooth to begin with. The guide coat highlights what the eyes cannot see. I'm not going to fair the sides perfectly smooth just yet. There's two more layers of glass to go on. Once they're on I'll spend all of my (quality) time with my sanders to prep the hull for primer and paint.
Speaking of sanding, I do most of the rough sanding with my pneumatic RO sander. It's a real workhorse. Once I get the tops of the high spots knocked down a bit I go in with the 'long board' (or otherwise known as a 'torture board').
This particular brand is made of dense foam rubber. It flexes to form to the hull and works really well on long sweeping curves. I have one that is 30" long and takes a lot of muscle to use. This one is 16" and with 80 grit paper it will remove a remarkable amount of material in a short period of time. Cured epoxy is really hard to sand but these tools make it relatively painless.
The pic below shows the difference the longboard makes. The section on the right has been RO and longboard sanded. The section on the left just RO sanded.
I'd like to thank Mr. Cracker Larry who has built a number of boats using these methods and has graciously shared his knowledge and experience with us amateurs on the Bateau.com web forums.
http://forums.bateau2.com/viewtopic.php?f=12&t=45383
I tip my hat to you Larry. Enjoy your Independence Day safely and happily!
Your Foolish Sanding Brother Together in Epoxy Dust!

No comments:
Post a Comment